


Using the Gallery Clear Tape System

 |
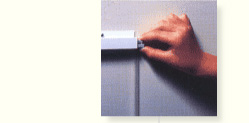
1. |
Screw the track firmly into the wall studs using cabinet screws or other appropriate fasteners for your type of wall. For brick or masonry walls you will need to drill the walls with a masonry drill and use wall plugs. The "V" groove in the track serves as a guide for placement of the drill holes. |
|
 |
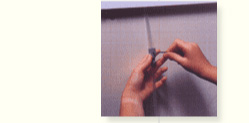
2. |
Cut the length of tape you need from the roll. Fit one end into the locking capsule and slide the capsule into the track. It will slide to any position along the track. The locking capsule is designed to lock the tape in place -- in fact, the more weight you hang on the tape, the harder it grips. |
|
 |
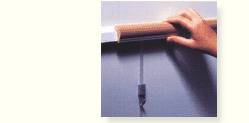
3. |
Fit the hook onto the tape and adjust it up or down to the position you want. Lock the hook into place with the key provided in the pack. The tape is then clamped between two flat metal surfaces in the hook to provide a very powerful grip, and it won't pierce or mark the tape when you move a hook. Also, you can put more than one hook on a tape. |
|
 |
4. |
The optional wood moulding can be fitted over the track to fully cover the track and give a more traditional look if that suits your decor.
|
© Gallery System Art Displays, USA 2007